29. HOG Classify
HOG Classify
Alright, so classification by color features alone is pretty effective! Now let's try classifying with HOG features and see how well we can do.
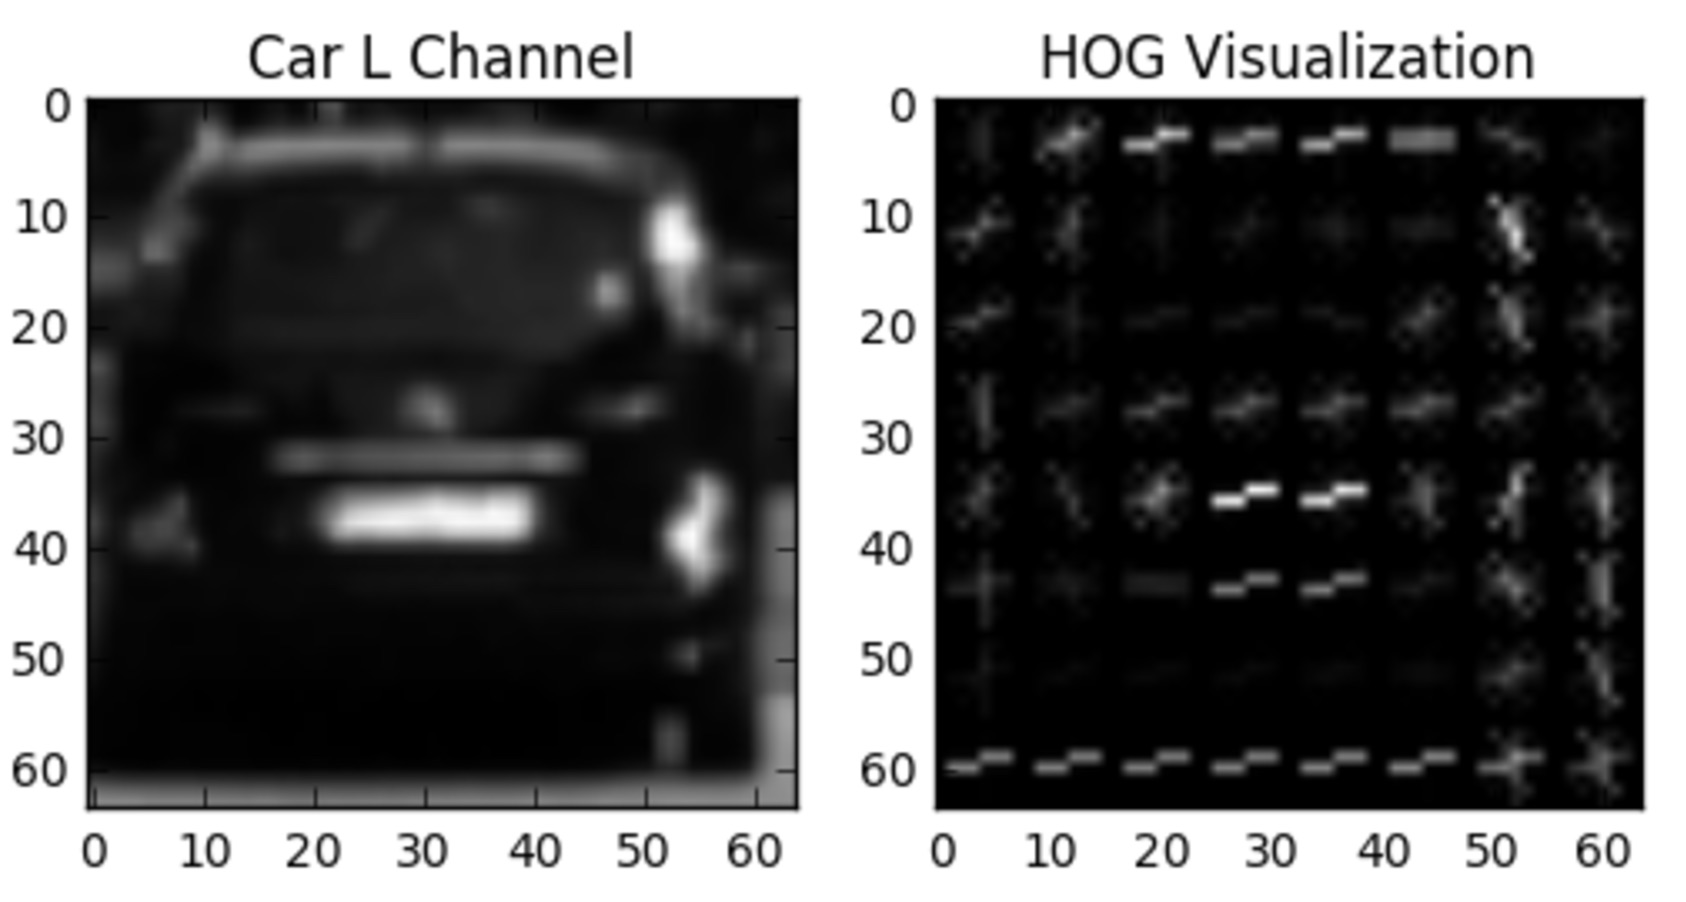
NOTE: if you copy the code from the exercise below onto your local machine, but are running
sklearn
version >= 0.18 you will need to change from calling:
from sklearn.cross_validation import train_test_split
to:
from sklearn.model_selection import train_test_split
In the exercise below, you're given all the code to extract HOG features and train a linear SVM. There is no right or wrong answer, but your mission, should you choose to accept it, is to play with the parameters
colorspace
,
orient
,
pix_per_cell
,
cell_per_block
, and
hog_channel
to get a feel for what combination of parameters give the best results.
Note:
hog_channel
can take values of 0, 1, 2, or "ALL", meaning that you extract HOG features from the first, second, third, or all color channels respectively.
Start Quiz:
import matplotlib.image as mpimg
import matplotlib.pyplot as plt
import numpy as np
import cv2
import glob
import time
from sklearn.svm import LinearSVC
from sklearn.preprocessing import StandardScaler
from skimage.feature import hog
# NOTE: the next import is only valid for scikit-learn version <= 0.17
# for scikit-learn >= 0.18 use:
# from sklearn.model_selection import train_test_split
from sklearn.cross_validation import train_test_split
# Define a function to return HOG features and visualization
def get_hog_features(img, orient, pix_per_cell, cell_per_block,
vis=False, feature_vec=True):
# Call with two outputs if vis==True
if vis == True:
features, hog_image = hog(img, orientations=orient, pixels_per_cell=(pix_per_cell, pix_per_cell),
cells_per_block=(cell_per_block, cell_per_block), block_norm= 'L2-Hys',
transform_sqrt=True,
visualise=vis, feature_vector=feature_vec)
return features, hog_image
# Otherwise call with one output
else:
features = hog(img, orientations=orient, pixels_per_cell=(pix_per_cell, pix_per_cell),
cells_per_block=(cell_per_block, cell_per_block), block_norm= 'L2-Hys',
transform_sqrt=True,
visualise=vis, feature_vector=feature_vec)
return features
# Define a function to extract features from a list of images
# Have this function call bin_spatial() and color_hist()
def extract_features(imgs, cspace='RGB', orient=9,
pix_per_cell=8, cell_per_block=2, hog_channel=0):
# Create a list to append feature vectors to
features = []
# Iterate through the list of images
for file in imgs:
# Read in each one by one
image = mpimg.imread(file)
# apply color conversion if other than 'RGB'
if cspace != 'RGB':
if cspace == 'HSV':
feature_image = cv2.cvtColor(image, cv2.COLOR_RGB2HSV)
elif cspace == 'LUV':
feature_image = cv2.cvtColor(image, cv2.COLOR_RGB2LUV)
elif cspace == 'HLS':
feature_image = cv2.cvtColor(image, cv2.COLOR_RGB2HLS)
elif cspace == 'YUV':
feature_image = cv2.cvtColor(image, cv2.COLOR_RGB2YUV)
elif cspace == 'YCrCb':
feature_image = cv2.cvtColor(image, cv2.COLOR_RGB2YCrCb)
else: feature_image = np.copy(image)
# Call get_hog_features() with vis=False, feature_vec=True
if hog_channel == 'ALL':
hog_features = []
for channel in range(feature_image.shape[2]):
hog_features.append(get_hog_features(feature_image[:,:,channel],
orient, pix_per_cell, cell_per_block,
vis=False, feature_vec=True))
hog_features = np.ravel(hog_features)
else:
hog_features = get_hog_features(feature_image[:,:,hog_channel], orient,
pix_per_cell, cell_per_block, vis=False, feature_vec=True)
# Append the new feature vector to the features list
features.append(hog_features)
# Return list of feature vectors
return features
# Divide up into cars and notcars
images = glob.glob('*.jpeg')
cars = []
notcars = []
for image in images:
if 'image' in image or 'extra' in image:
notcars.append(image)
else:
cars.append(image)
# Reduce the sample size because HOG features are slow to compute
# The quiz evaluator times out after 13s of CPU time
sample_size = 500
cars = cars[0:sample_size]
notcars = notcars[0:sample_size]
### TODO: Tweak these parameters and see how the results change.
colorspace = 'RGB' # Can be RGB, HSV, LUV, HLS, YUV, YCrCb
orient = 9
pix_per_cell = 8
cell_per_block = 2
hog_channel = 0 # Can be 0, 1, 2, or "ALL"
t=time.time()
car_features = extract_features(cars, cspace=colorspace, orient=orient,
pix_per_cell=pix_per_cell, cell_per_block=cell_per_block,
hog_channel=hog_channel)
notcar_features = extract_features(notcars, cspace=colorspace, orient=orient,
pix_per_cell=pix_per_cell, cell_per_block=cell_per_block,
hog_channel=hog_channel)
t2 = time.time()
print(round(t2-t, 2), 'Seconds to extract HOG features...')
# Create an array stack of feature vectors
X = np.vstack((car_features, notcar_features)).astype(np.float64)
# Define the labels vector
y = np.hstack((np.ones(len(car_features)), np.zeros(len(notcar_features))))
# Split up data into randomized training and test sets
rand_state = np.random.randint(0, 100)
X_train, X_test, y_train, y_test = train_test_split(
X, y, test_size=0.2, random_state=rand_state)
# Fit a per-column scaler
X_scaler = StandardScaler().fit(X_train)
# Apply the scaler to X
X_train = X_scaler.transform(X_train)
X_test = X_scaler.transform(X_test)
print('Using:',orient,'orientations',pix_per_cell,
'pixels per cell and', cell_per_block,'cells per block')
print('Feature vector length:', len(X_train[0]))
# Use a linear SVC
svc = LinearSVC()
# Check the training time for the SVC
t=time.time()
svc.fit(X_train, y_train)
t2 = time.time()
print(round(t2-t, 2), 'Seconds to train SVC...')
# Check the score of the SVC
print('Test Accuracy of SVC = ', round(svc.score(X_test, y_test), 4))
# Check the prediction time for a single sample
t=time.time()
n_predict = 10
print('My SVC predicts: ', svc.predict(X_test[0:n_predict]))
print('For these',n_predict, 'labels: ', y_test[0:n_predict])
t2 = time.time()
print(round(t2-t, 5), 'Seconds to predict', n_predict,'labels with SVC')